

Adding barnwood planks to your walls is an excellent way to bring warmth, texture, and character into any space. Whether you want to create a rustic farmhouse feel or add a modern touch with natural wood accents, knowing how to install barnwood planks properly ensures a flawless and lasting finish. This guide will walk you through the best techniques, tools, and common mistakes to avoid, helping you achieve a professional result with ease.
Why Choose Barnwood Planks for Your Walls?
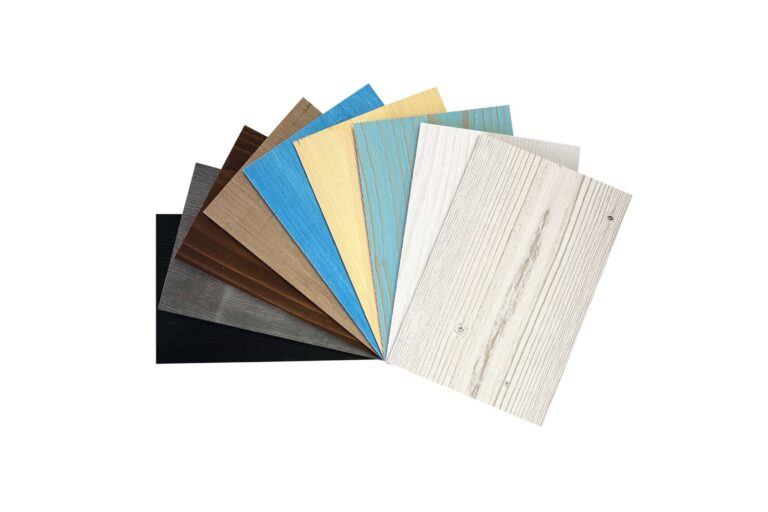
Before diving into how to install barnwood planks, it’s important to understand why they are such a popular choice for interior design. These wooden panels offer unmatched versatility, allowing you to transform dull walls into stunning focal points. The natural grain, rich textures, and varying tones of barnwood wall paneling bring an authentic, lived-in charm that complements both rustic and modern aesthetics.
In addition to their visual appeal, barnwood planks are highly durable and sustainable. Repurposed or reclaimed wood panels reduce environmental impact while providing a unique character that newer materials simply cannot replicate. Whether used in living rooms, bedrooms, offices, or commercial spaces, knowing how to install barnwood planks ensures a timeless and visually striking upgrade.
Tools and Materials Needed for Installation
Before starting the installation, gather the necessary tools and materials to make the process efficient and hassle-free. Here’s what you’ll need:
Barnwood planks (measure the space to determine how much is needed)
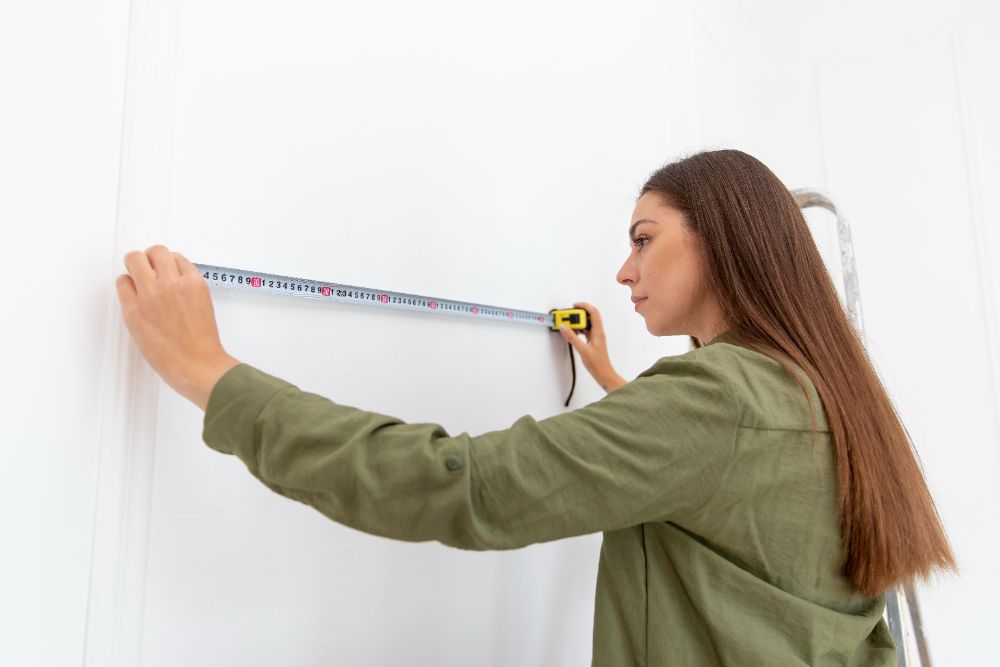
Measuring tape
Pencil and level
Saw (miter saw or circular saw)
Adhesive (wood-safe construction adhesive)
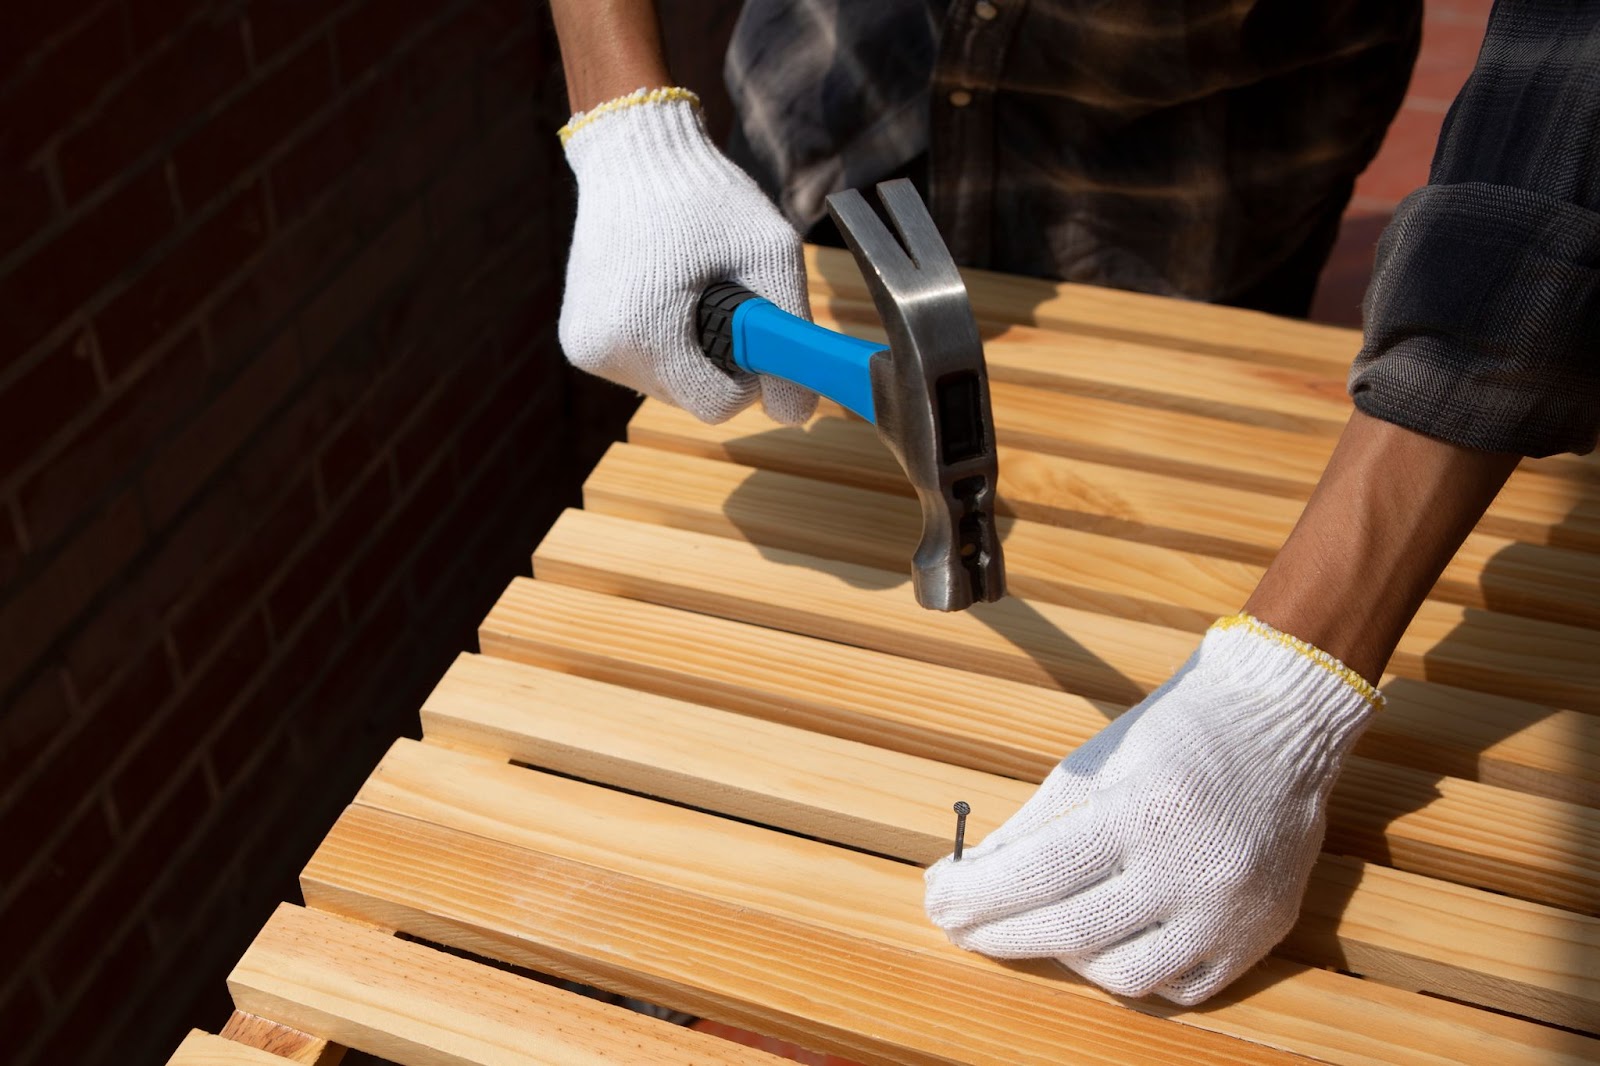
Brad nailer or finishing nails
Sandpaper (optional, for smoothing rough edges)
Protective gear (gloves, safety glasses)
With these tools in hand, you’re ready to learn how to install barnwood planks properly and achieve a seamless finish.
Step-by-Step Guide on How to Install Barnwood Planks
Installing barnwood planks is a straightforward process that can dramatically enhance any interior space. By following a structured approach and using the right tools, achieving a professional-looking finish is easier than ever.
1. Prepare the Wall Surface
Proper wall preparation is crucial when learning how to install barnwood planks. Ensure the surface is clean, dry, and free from dust or debris. If installing on drywall, lightly sanding the surface can help the adhesive bond better. For extra security, locate the wall studs with a stud finder, as securing the planks to studs ensures long-term stability.
2. Acclimate the Wood
Before installation, let the barnwood planks acclimate to the room’s humidity for at least 48 hours. This step is essential because wood naturally expands and contracts with changes in temperature and moisture levels. Skipping this step could lead to warping or gaps between planks over time.
3. Plan Your Layout
Understanding how to install barnwood planks effectively requires a strategic layout. Arrange the planks on the floor before installation to visualize the pattern and ensure a balanced mix of colors and textures. A staggered arrangement prevents visible seams and creates a more natural, aesthetically pleasing design.
4. Cut the Planks to Size
Measure and mark the planks according to your layout. Using a miter saw or circular saw, cut the pieces as needed, ensuring clean and precise edges. Sand any rough edges for a smoother finish.
5. Apply Adhesive and Attach the Planks
Apply a strong, wood-safe construction adhesive to the back of each barnwood plank before placing it on the wall. Press firmly for a secure bond. While adhesive alone can hold the planks in place, reinforcing them with brad nails or finishing nails provides extra security, especially in high-traffic areas.
6. Check Alignment as You Go
To maintain a level and professional look, use a level frequently during installation. Even slight misalignments can become more noticeable as you progress, so adjusting as needed ensures a flawless final result.
7. Finishing Touches
Once all planks are installed, inspect for any gaps or uneven edges. Fill small gaps with wood filler if necessary, and lightly sand any rough spots. A clear sealant or matte polyurethane can be applied to protect the wood while preserving its natural look.
Tips and Common Mistakes to Avoid for a Flawless Installation
Proper planning and attention to detail are key to a successful barnwood plank installation. From allowing the wood to acclimate to avoiding common errors like skipping surface prep or using the wrong adhesive, these tips will help ensure a seamless and long-lasting result. Keep these best practices in mind to avoid costly mistakes and achieve a polished, professional finish.
Acclimate the Wood – Leave the barnwood planks in the room for at least 48 hours before installation to adjust to humidity levels.
Mix and Match Colors – Blend different shades of wood to create a natural, organic look.
Use a Staggered Pattern – Prevent alignment seams by staggering plank lengths for a more authentic design.
Skipping Surface Prep – Adhesive and nails may not hold well on dusty or uneven walls.
Using the Wrong Adhesive – Ensure the adhesive is suitable for wooden wall panels.
Neglecting a Leveling Check – Installing without a level can lead to misaligned planks.
Maintaining and Cleaning Barnwood Planks
After mastering how to install barnwood planks, it’s important to maintain their appearance for years to come. Regular dusting with a soft cloth or microfiber duster prevents buildup, and occasional cleaning with a damp cloth keeps the wood looking fresh.
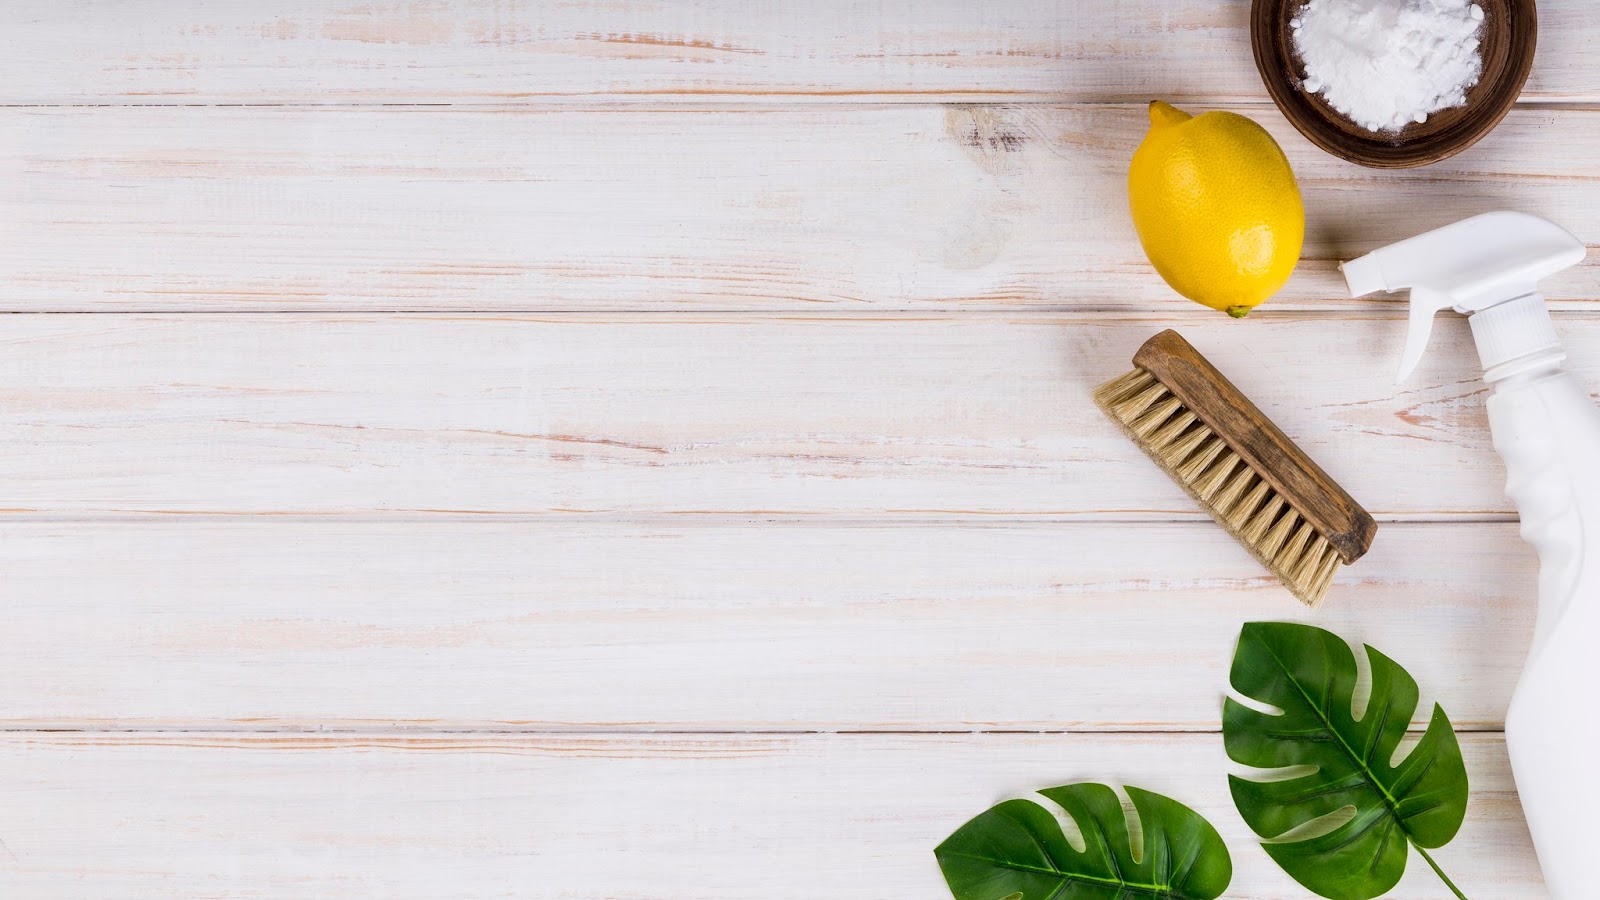
Avoid excessive moisture, as water exposure can damage the wood over time. For stubborn stains, use a mild wood cleaner designed for natural finishes.
Transform Your Space with WoodyWalls
Easily enhance your home or office with barnwood planks from WoodyWalls. Our panels are simple to install and made from high-quality, sustainable wood, adding warmth and elegance to any area.
Check out our collection today to discover the perfect style for your next design project!

FAQs
1. Can barnwood planks be installed over existing walls?
Yes, you can install barnwood planks over drywall, concrete, or other surfaces, as long as they are clean and dry.
2. What is the best adhesive for installing barnwood planks?
Using a high-quality, wood-safe construction adhesive will give you a strong and lasting bond.
3. Can barnwood planks be used in high-moisture areas like bathrooms?
Yes, you can use them there, but make sure to seal them properly to avoid moisture damage.
Leave a Reply